
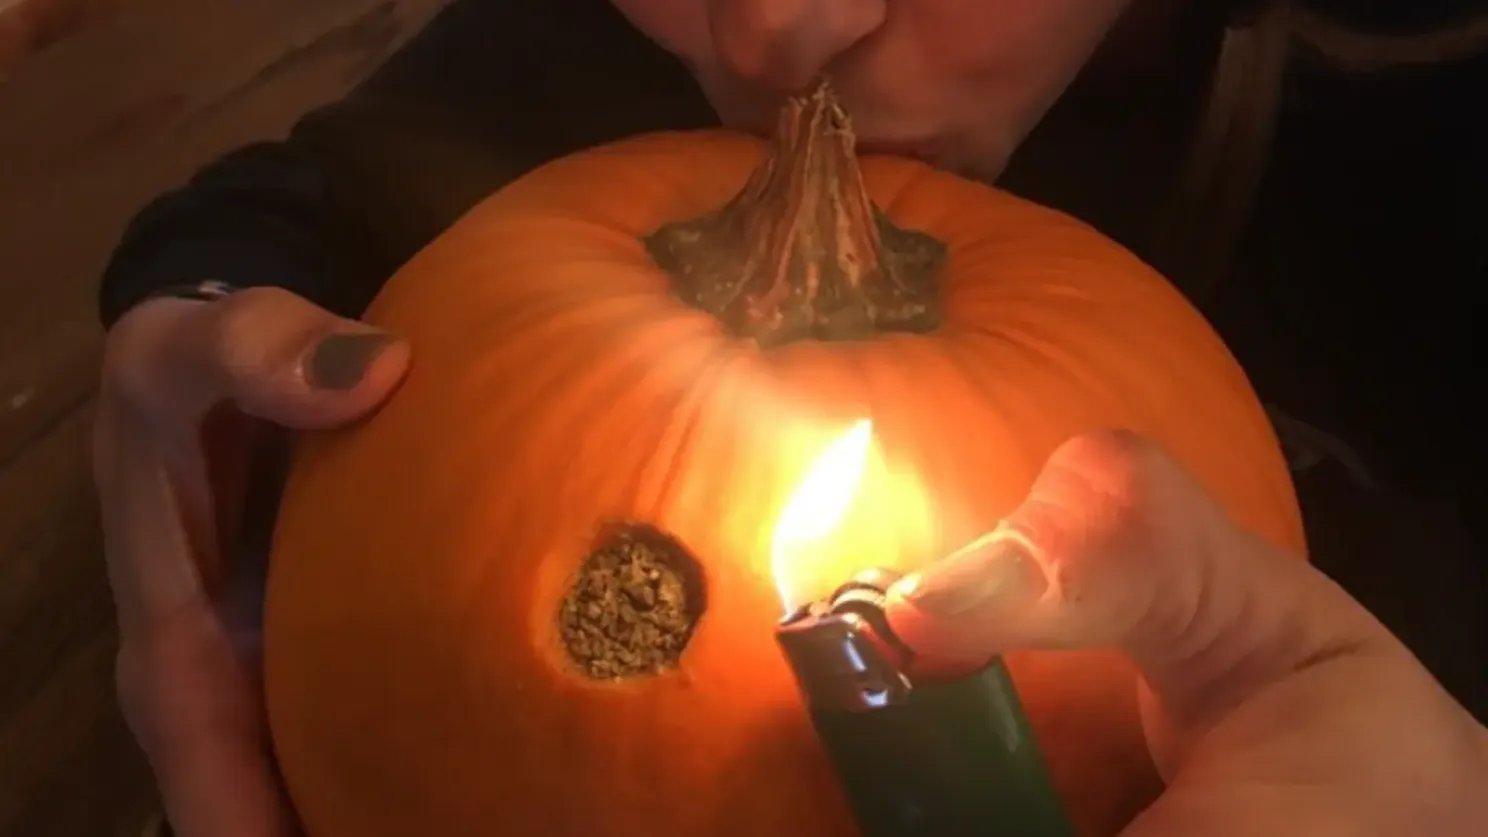
A Halloween pumpkin bong: an old cannabis-culture trick
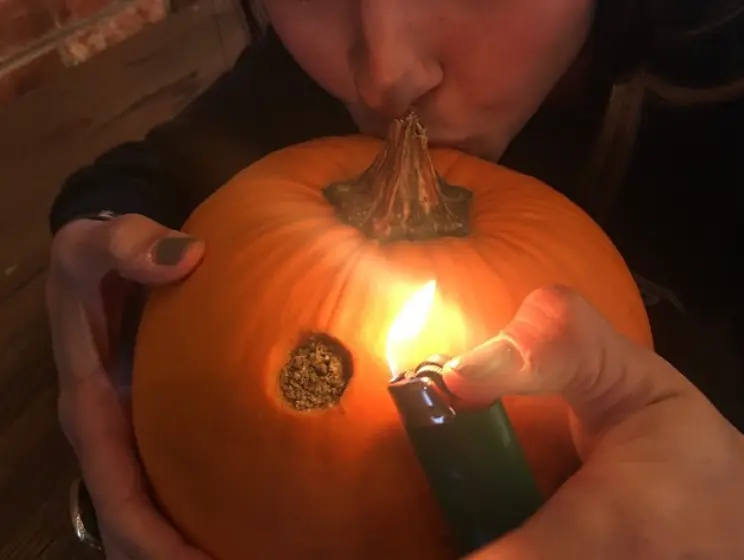
Making a bong from a pumpkin is a Halloween tradition in cannabis culture. This older guide shows eight stages with photographs. Use care with sharp tools and recognise that homemade equipment can carry hygiene and health risks.
You will need:
- A medium-sized pumpkin
- A screwdriver or another suitable pointed tool
- A glass downstem, optional
- A bowl, optional
- A knife and spoon
- A lighter or matches
- Your chosen material for the bowl
Step 1: Cut an opening around the stalk
Cut off the top around the stalk to create an opening through which the seeds and interior can be removed.
Step 2: Remove the seeds and interior
Use a spoon to remove the seeds and soft flesh. Clear all seeds from the interior.
Step 3: Prepare the bowl opening
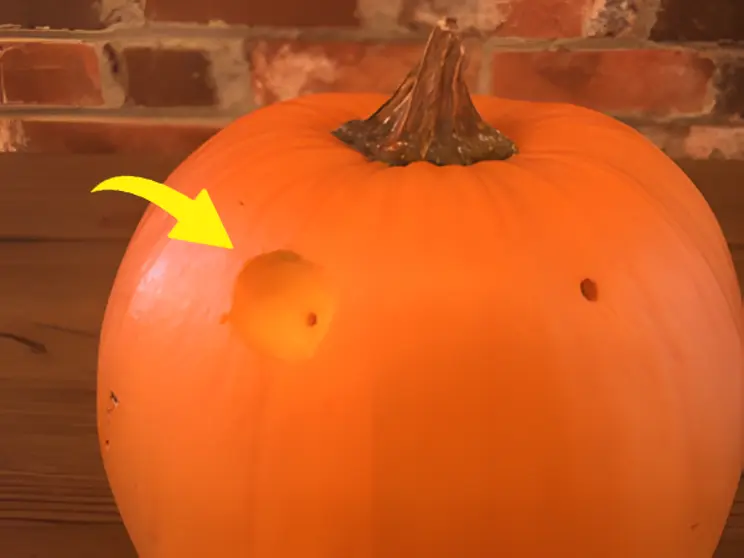
Prepare a small bowl opening on one side. Make a rounded recess without immediately cutting through the shell, using the knife for the initial cut and spoon to shape it. Then make a small hole through the bottom of the recess with the screwdriver. If using a separate glass downstem or bowl, size the opening for a snug fit.
Step 4: Make the carb hole
Make another small hole through the shell near the bowl opening to serve as a carb. Position it where it can be covered comfortably to control airflow.
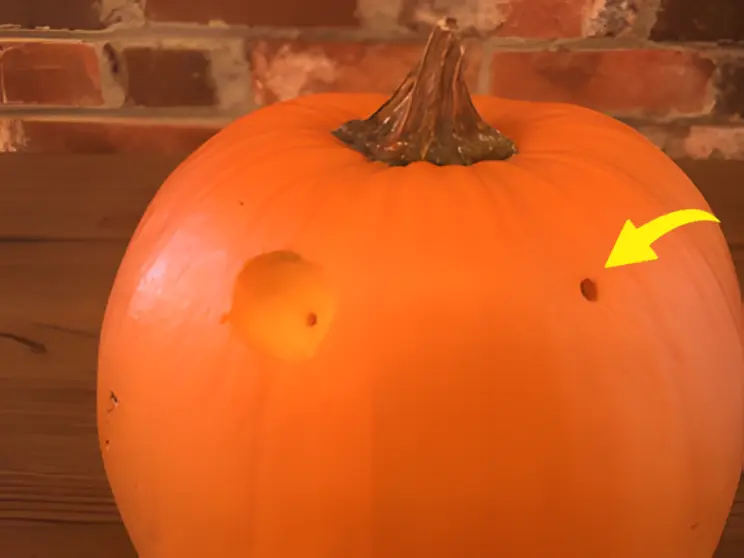
Step 5: Prepare the mouthpiece
Make a third opening slightly higher on the opposite side for the mouthpiece. Think of the layout of a conventional bong when positioning the openings. A suitable glass stem can be used at this opening if available.
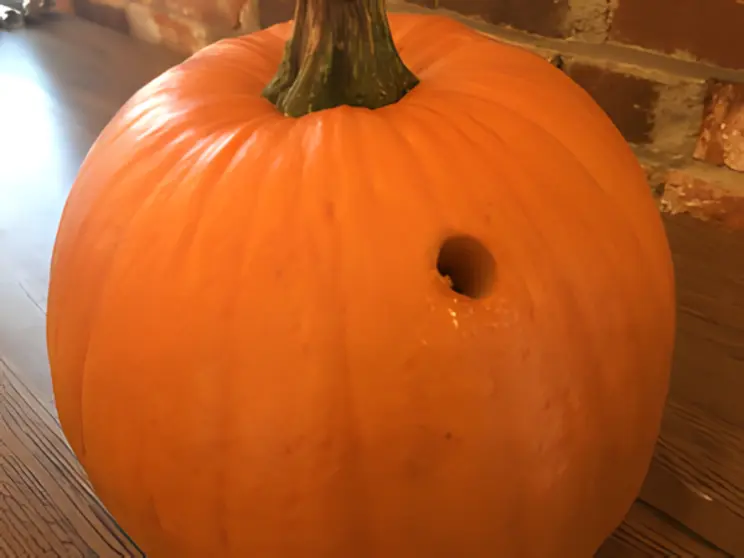
Step 6: Add water
Add enough water for the intended airflow without overfilling or obstructing the openings.
Step 7: Replace the lid
Replace the cut top, including the stalk, after clearing the interior and adding water.
Step 8: Finish the assembly
Once the openings are prepared, the original project finishes by filling and lighting the bowl. The pumpkin supplies the Halloween theme; it does not remove the risks of inhaling smoke or using improvised equipment.
If this project added some Halloween atmosphere, share your creations with 420Eesti on Instagram or Facebook. 🎃